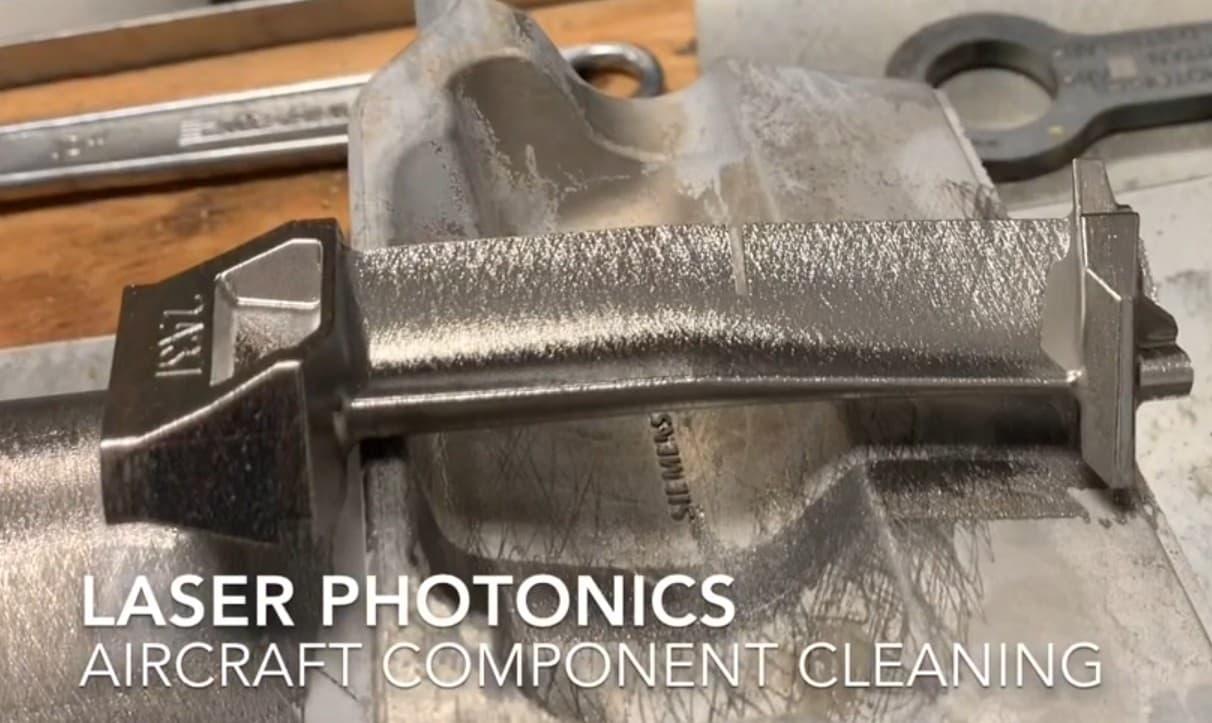
Rivet Line Cleaning: A Lesson From the Chemical Era
The Story
An A&P shop discovered something unsettling during a 100-hour inspection on a small aircraft. Three rivets along the lap joint of a wing skin were failing — not from fatigue cracks (which would have been expected), but from crevice corrosion under the rivet heads. The aircraft was less than 15 years old. The skin was 2024-T3 with intact alclad.
The failure mode was diagnosed as chemical penetration: methylene chloride and other paint stripper components had wicked under the rivet heads during prior strip cycles, pooled in the microscopic gap between rivet shank and skin, and slowly attacked the alclad layer where it couldn't be inspected or rinsed clean.
By the time visible corrosion appeared, the structure under the rivet heads had been compromised for years. Three rivets failed during routine torque check; analysis suggested another two dozen were on the verge.
Why Chemicals Find Rivets
Rivets are intentionally driven so the shank fills the hole tightly — but at the head/skin interface, manufacturing tolerances leave a microscopic gap (typically 5–20 μm). That gap is invisible to the eye and undetectable by standard NDI, but it's wide enough for low-viscosity liquids to wick into.
Chemical paint strippers are designed to penetrate paint films — they're aggressive solvents with surfactants that lower surface tension. The same properties that make them effective on paint also make them eager to wick into any available gap. Each strip cycle leaves a tiny amount of stripper residue under the rivet heads. Over years and dozens of cycles, the residue accumulates and slowly degrades the alclad and underlying alloy.
Why Laser Cleaning Eliminates the Failure Mode
Laser cleaning is a non-contact, no-liquid process. Energy is delivered as photons; nothing wicks anywhere. The 1064 nm beam interacts with the paint or corrosion product on the surface and ablates it. Whatever vapor forms is captured by the HEPA fume extraction. There's no liquid residue, no chemical penetration, no slow-acting degradation hiding under the rivet heads.
That's the headline benefit, but the per-rivet process improvements are also significant.
The Aviation Laser Services Rivet Protocol
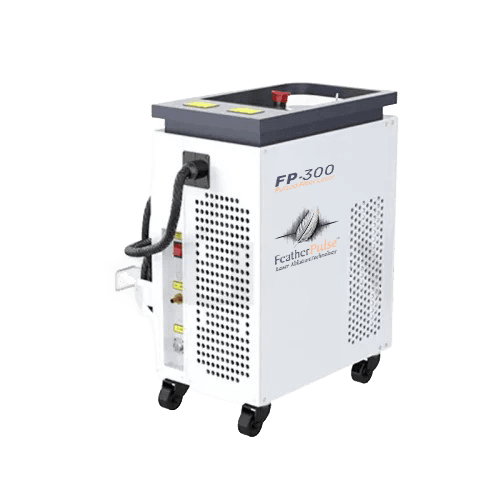
Based on our analysis of the failure case study, we developed a specific FP-300 protocol for rivet line cleaning:
1. Initial Assessment
- Visual inspection of every rivet head for chemical staining or corrosion bloom
- Tap test for any loose rivets (sound change)
- Mark suspect rivets with non-marring tape for monitoring
2. Parameter Setup (Validated Settings)
- Power: 180 W
- Pulse duration: 100 ns
- Frequency: 40 kHz
- Scan speed: 250 mm/s (slower for detail)
- Standoff: 150 mm (longer than normal flat-panel work)
3. Cleaning Technique
- Circular motion around each rivet — not over the rivet
- Stay 2 mm from the rivet edge
- Approach at a 45° angle so reflected energy isn't directed back at the head
- 2–3 passes maximum, then evaluate
4. Quality Checks
- No undercutting around the rivet head
- Sealant intact (if originally present in the lap joint)
- Clean radius transition at the head/skin boundary
- No heat discoloration on the rivet itself
Time Comparison
| Method | 100 Rivets | Quality / Risk |
|---|---|---|
| Chemical stripping | ~ 4 hours | Risk of head/skin penetration as described |
| Manual blending | ~ 6 hours | Inconsistent operator-to-operator |
| Media blasting | ~ 2 hours | Aggressive, removes too much material |
| FP-300 laser | ~ 45 minutes | Consistent, no penetration risk, repeatable |
What to Document
For rivet line cleaning specifically, the maintenance release should include extra detail:
- Number of rivets cleaned
- Pre/post tap-test results
- Photos of representative rivets at 4× magnification before and after
- Sealant integrity verification (intact / re-applied)
- Any rivets flagged for replacement based on visible damage
The Broader Lesson
The failure case is a reminder that maintenance methods don't fail visibly. They fail invisibly, over years, in places nobody can see until something gives. Chemical stripping has been the industry default for half a century not because it's the safest method — but because it was the only practical method. Laser cleaning changes that calculus.
If you're maintaining aluminum aircraft and worried about what previous strip cycles may have done to your fleet, the FP-300 lets you stop the bleeding immediately. The aircraft you clean tomorrow won't accumulate any further chemical exposure under the rivet heads. Over a decade, that's the difference between a fleet you trust and a fleet you're constantly inspecting harder than you should have to.